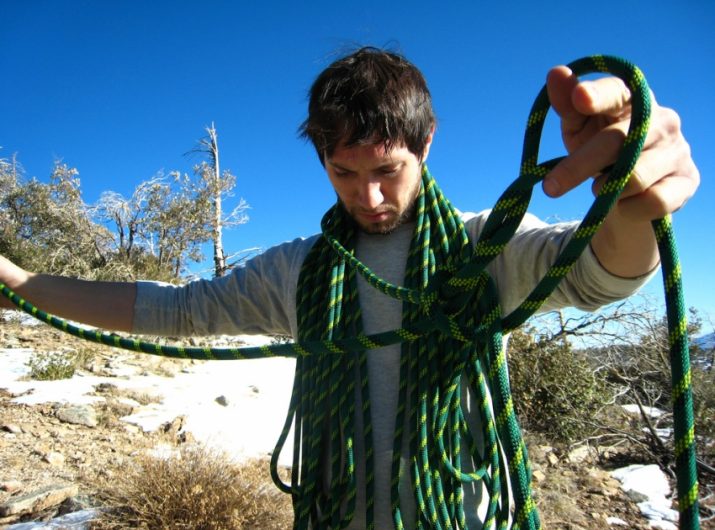
As you may or may not know, Transport Canada puts stand-up paddleboards (SUP) in the same classification as canoes and kayaks so they are technically required to carry the same gear which includes PFD’s, heaving line, etc. You can see the full list here.
Of course, being safe is a good thing but much of the required gear just isn’t practical in SUP and could even be potentially dangerous in surf (eg. PFD’s).
With that in mind, a grassroots movement started last year to get Transport Canada and in particular, Canadian Marine Advisory Council (CMAC) to recognize the use of board leashes in place of a PFD.
In response, Transport Canada recently released a statement clarifying their policy on required safety gear and it seems to be a good compromise. Transport Canada decided to follow the lead of the US Coast Guard and said that as long as you are paddling within the surf zone, you are not required to carry all the gear which also includes a PFD. That being said, they did go on to say that if you are using your SUP for navigation (group crossing or solo outing) then the regular rules are in place.
The thing to keep in mind with the change is that if you decide to paddle around the headland back to the parking lot then you are no longer surfing and thus in line for a ticket if caught without all the required safety gear. Stories of this type of enforcement have been trickling out of popular surf breaks in California over the last year.
On the surface the clarification from Transport Canada seems to be a good compromise as it solves the real concern about putting paddlers surfing in danger due to a PFD (They could be in greater danger as a PFD doesn’t allow them to duck dive under an incoming wave when swimming).
I know that the compromise won’t make some people in the SUP community totally happy, but here is the problem from Transport Canada’s perspective as I see it. They have a hard enough time trying to convince everybody just to bring a PFD (let alone wear it) when in a boat that it really confuses the message to say it’s ok for one type of vessel but not the other. As far as I know all recreational, human powered vessels are required to carry a PFD except in a competitive match.
As far as the other requirements that SUPs are also required to carry (heaving line, etc.) a simple thing would be to reclassify SUPs and put them into the same category as sail or kite boards. In that classification, as long as you are wearing your lifejacket, you only need to carry a whistle.
I heard through the grape vine that Transport Canada is look into making the change and hopefully that will happen soon.
Thoughts, comments? Post them below.
Top Photo Credit: SUP Devin (1/13/09) / Steve Corey / CC BY-NC 2.0
Bottom Photo Credit: Russ Garing, SUP Standup Paddle Boarder. Surfing at Morro Rock in Big Winter Waves, Morro Bay, CA 11 Dec 2009. / Mike Baird / CC BY 2.0
GCaptain had a great article yesterday called, Emergencies at Sea – Practicing What Can’t be Practiced. The takeaway message from the article is that it’s critically important not to forget the little details of any rescue and practice them as well. This also includes inspection of all emergency gear. A good example they provide is to actually pull the man overboard life ring from the wall and toss it overboard. Apparently the rings are difficult to get off the wall as they are designed not to get lost in the daily business of the ship and it takes more time then people think.
This got me thinking about rescue practice for canoes or kayaks. As paddlers we tend to focus on the primary element of the rescue which is getting yourself or your partner back in the boat. With time we get that dialled down but as you know there is a whole lot more little details that often get overlooked.
Here are a couple of thoughts and ideas to think about the next time you get out practising rescues:
Have you got ideas for lesson common things to keep in mind? Share them in the comments below.
Top Photo Credit: BASK-Rescue-06292008--0106 / CC BY-NC-ND 2.0
Bottom Photo Credit: 3176 canoe rescue (#5 of 9) / CC BY-SA 2.0
Hey, we have a guest post!
I recently asked Vanessa Mackay to see if she could put together a safety article specifically aimed at a group of readers we haven’t focused on for some time, power boaters and sailors.
For novice boaters, passing the Canada boating exam is just a first step. There’s still much to learn, and like most real-world education, a lot of it will come the hard way: through hands-on experience. That type of “on-the-job” training, however, isn’t always good enough.
So let’s consider some survival scenarios, such as capsizing and sinking, so that if you ever end up in a worst-case scenario while at sea, you’ll know what to do.
Assessment and the Distress Call
As soon as you realize that you’re in an emergency; breathe and assess the situation methodically. The first thing to determine is whether you require external help. Determine that as fast as possible, and error on the side of caution. It’s better to send out a distress call that results in inconvenience and a little humiliation rather than not send one out and pay a more significant cost. When making a distress call, the VHF radio is usually the best option, but flares, waving arms and even mirrors can be appropriate in certain situations where potential rescuers are nearby.
Next, focus on passengers and ensure their safety however possible. Typically, this involves making sure everyone has a lifejacket on. Locate the lifejackets, start with the children and then help one person after the next don the jacket properly. When that’s accomplished, determine the safest part of the boat, or a safe area of the water, and move people to that area. If you’re still on the boat at this point, examine your surroundings for possible ways to alleviate the situation while awaiting help.
If You’ve Capsized...
The biggest mistake most capsized boaters make is that they leave the boat, attempting to swim to rescue. Understand that statistically chances for survival drop significantly as soon as the boaters leave the boat. The reason for this is that a capsized boat is easier to spot from the water and the air than just people in the water are. The other benefit to staying with the boat is that it’s a floatation device, and using it allows you to conserve a great deal of energy compared to free-floating with a lifejacket.
If You’re Sinking...
After making the distress call, the next step is to start the bilge pump. It’s for situations such as these that you’ve already learned to use the bilge pump, and that you’ve ensured that the pump is the proper size and style for your boat, and that it’s in top working order. Once you’ve connected the hose and turned the pump on, your job is to ensure that all debris stays clear of the line.
Bilge pumps do extend sinking time greatly, but they don’t prevent sinking altogether. If you feel that the boat will likely sink prior to rescuers arriving, then put the lifeboat in the water, and help each of the passengers on to it. The key is for you, as the boat captain, to remain calm because that calm is infectious.
If there is the potential that you may be in the lifeboat for an extended period, fresh water is the most precious resource you can take with you. However, drink it sparingly, and protect your skin from the sun as much as possible. In worst-case scenarios, you can use your fresh water containers to collect rainwater, so don’t throw those containers overboard once you’ve emptied them.
Top photo credit: Boat Leaving Harbour / Gene Wilburn / CC BY-NC-ND 2.0
Bottom photo credit: Capsized Boat / David Merrett / CC BY 2.0
Paddling in a Voyageur canoe is a whole lot of fun. In fact one might even describe it as a boatload of fun (sorry about that). What makes them a great mode of transportation is that you can have a whole group of friends paddling along in a super stable craft. Only 3-4 people need to actually paddle to maintain speed leaving the other 15 people able to hang out and gossip.
But what happens if something went wrong and the boat tips over? Do you know what you would do?
Priscilla Haskin is a Paddle Canada canoe instructor from
Watching the video, you quickly realize it’s a time consuming and slow process to empty that big monster of enough water to allow participants to slowly climb in. Also, reminded me that if you are going out with a group you would want to make sure you have a conversation with them before leaving describing the basic process so people don’t panic while in the water.
Voyageur Canoe Photo used under Creative Commons from North Cascades National Park.
Mark Tozer posted a really excellent article about the actual signs and symptoms of what somebody looks like when they are drowning. In my head I always thought that the victim would be screaming for help and waving their arms. Clearly I was wrong.
[blockquote]Except in rare circumstances, drowning people are physiologically unable to call out for help. The respiratory system was designed for breathing. Speech is the secondary or overlaid function. Breathing must be fulfilled, before speech occurs.
Drowning people’s mouths alternately sink below and reappear above the surface of the water. The mouths of drowning people are not above the surface long enough for them to exhale, inhale, and call out for help. When drowning people’s mouths are above the surface, they exhale and inhale quickly before their mouths start to sink below the surface again.
Drowning people cannot wave for help. Nature instinctively forces them to extend their arms laterally and press down on the water’s surface. Doing this permits drowning people to leverage their bodies so they can lift their mouths out of the water to breathe.[/blockquote]
You should really click through and read the full article over on Marks blog and read the whole fascinating story.
Photo credit: Memorial to a drowned child / Pip Wilson / CC BY-NC-ND 2.0